I went to a couple of caves and learned a lot about how hard it is to get great shots in caves if the owners do not allow tripods, monopods, non camera flashes, video cameras, no backpacks for extra lenses and equipment, no drinks, no food and no restrooms. It seems a little out of touch but it is there caves so we live with their rules.
The trip was informative as the person knows a lot about caves and their environment. Now to the basics for the shoot as you have to shoot handheld and no bracing on anything in the cave. That sets the standard even higher for your ability to shoot on the spur of the moment.
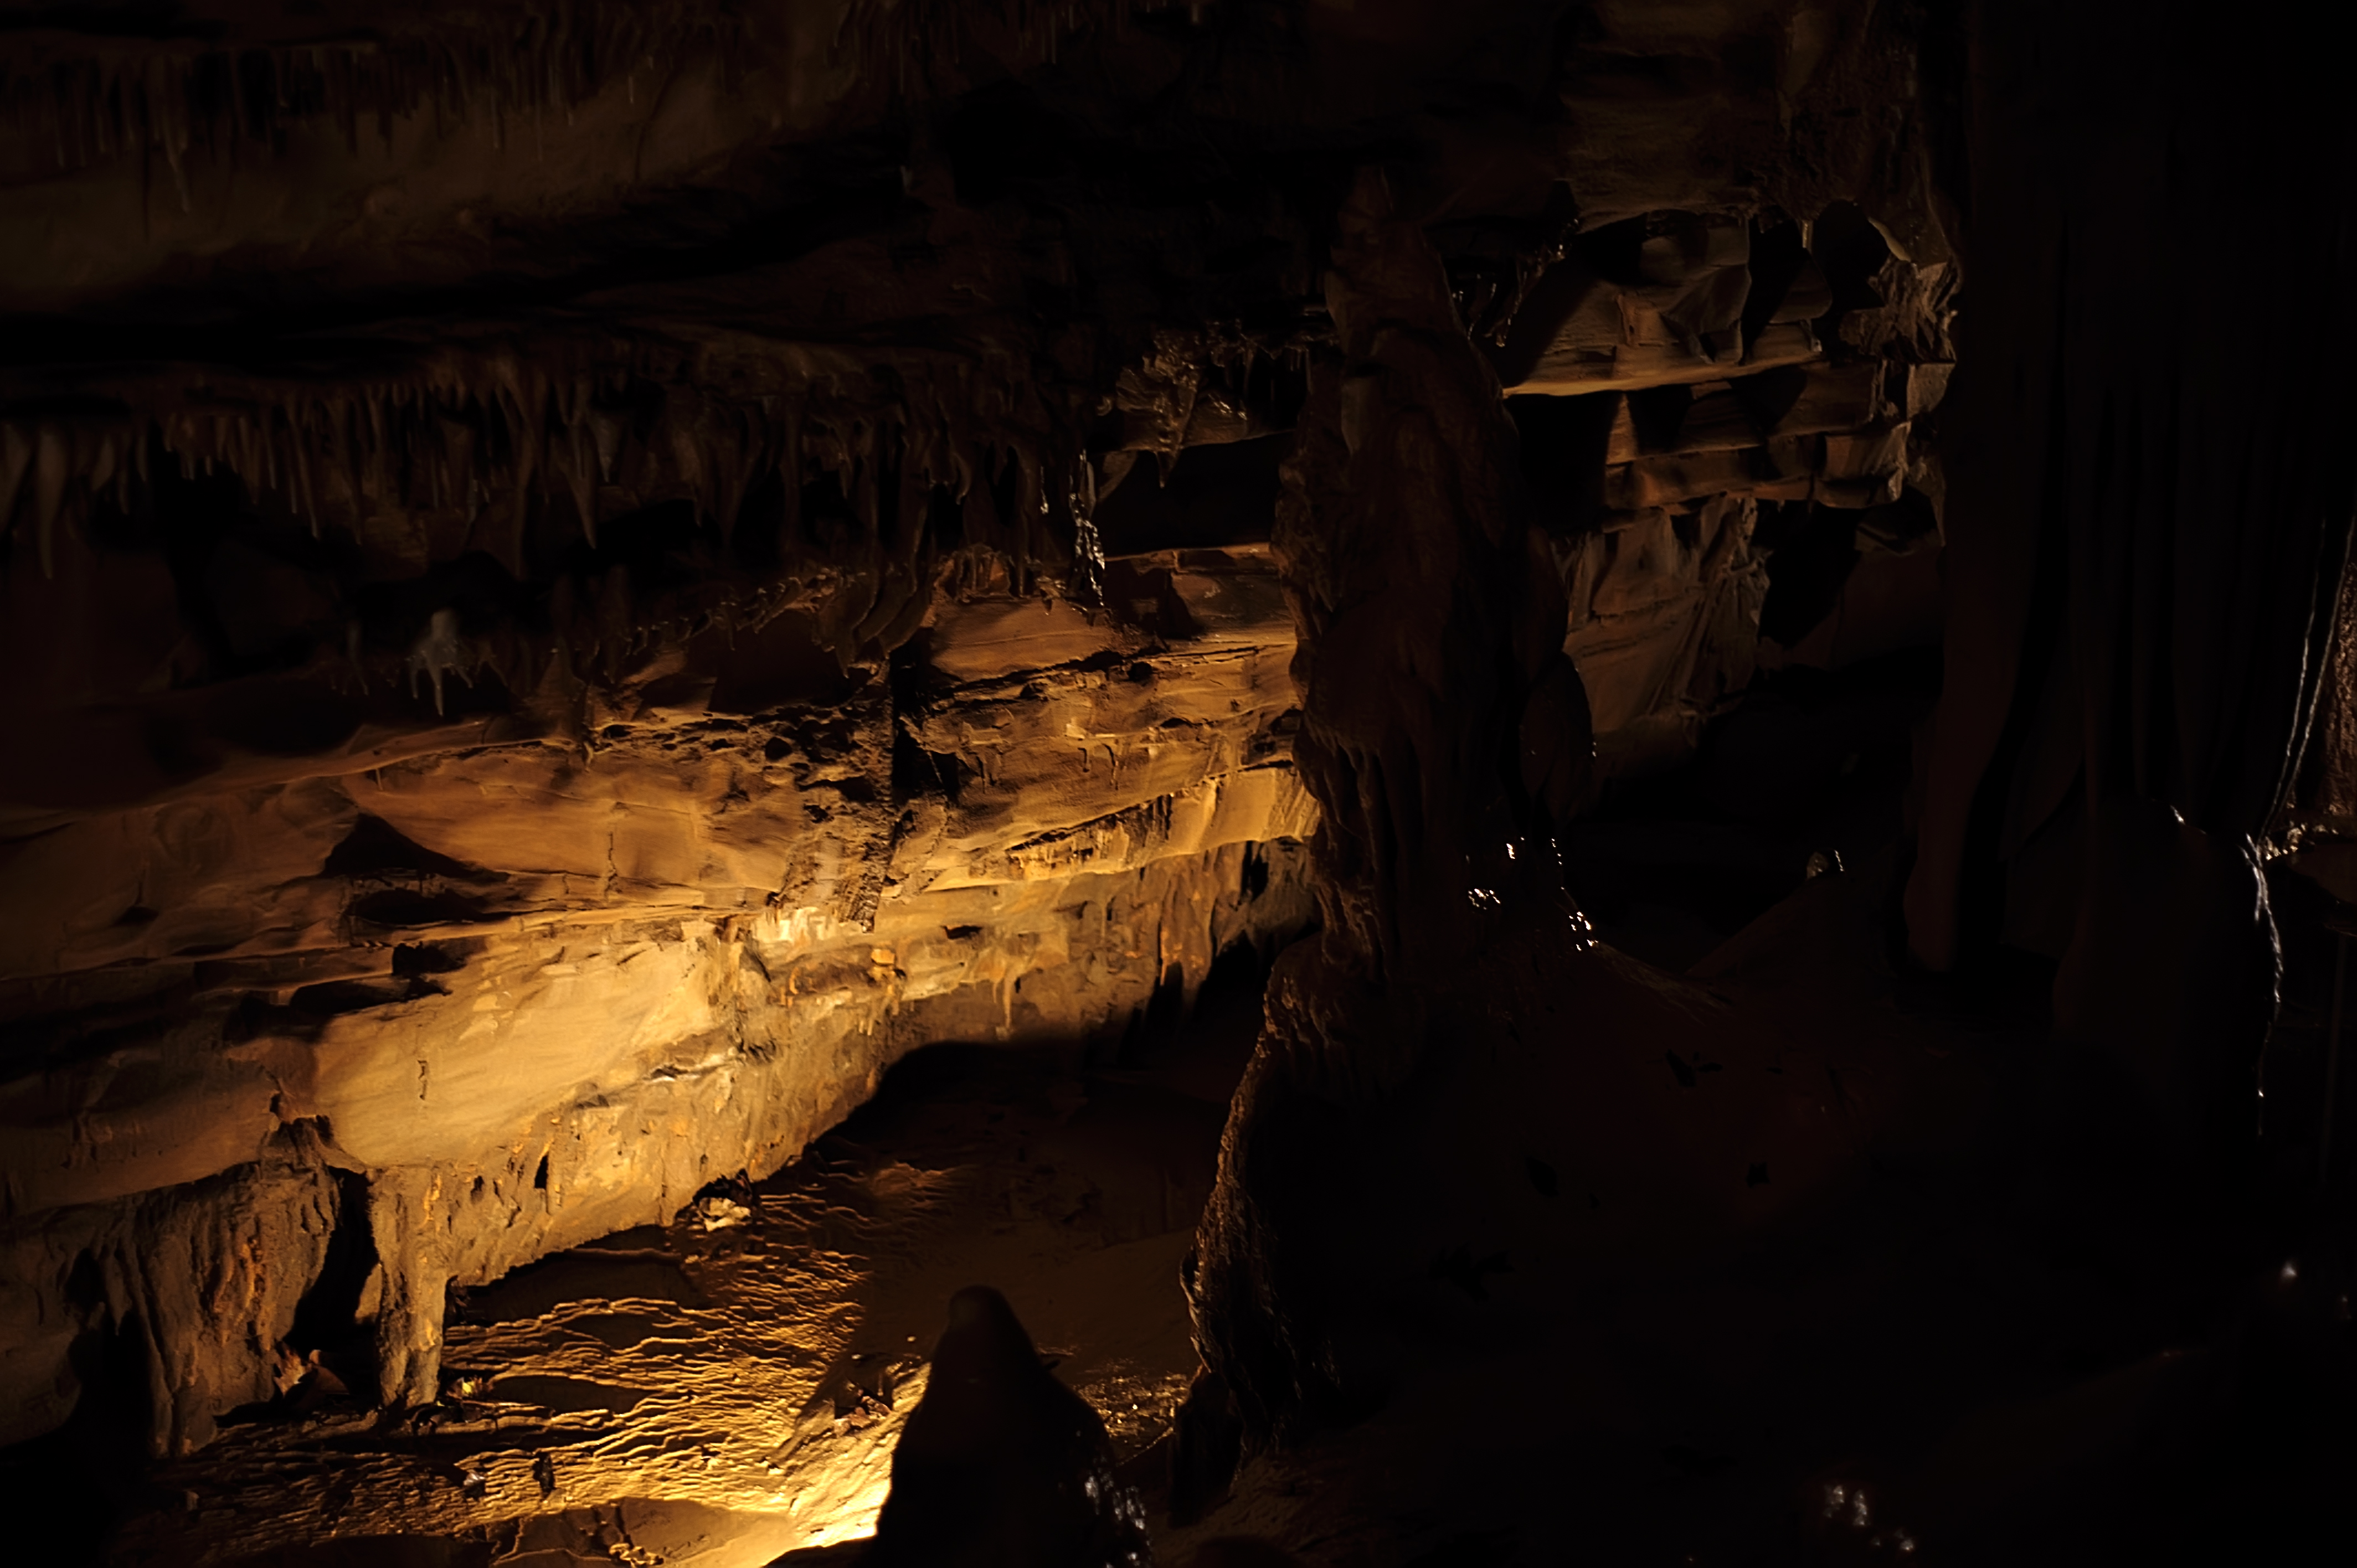
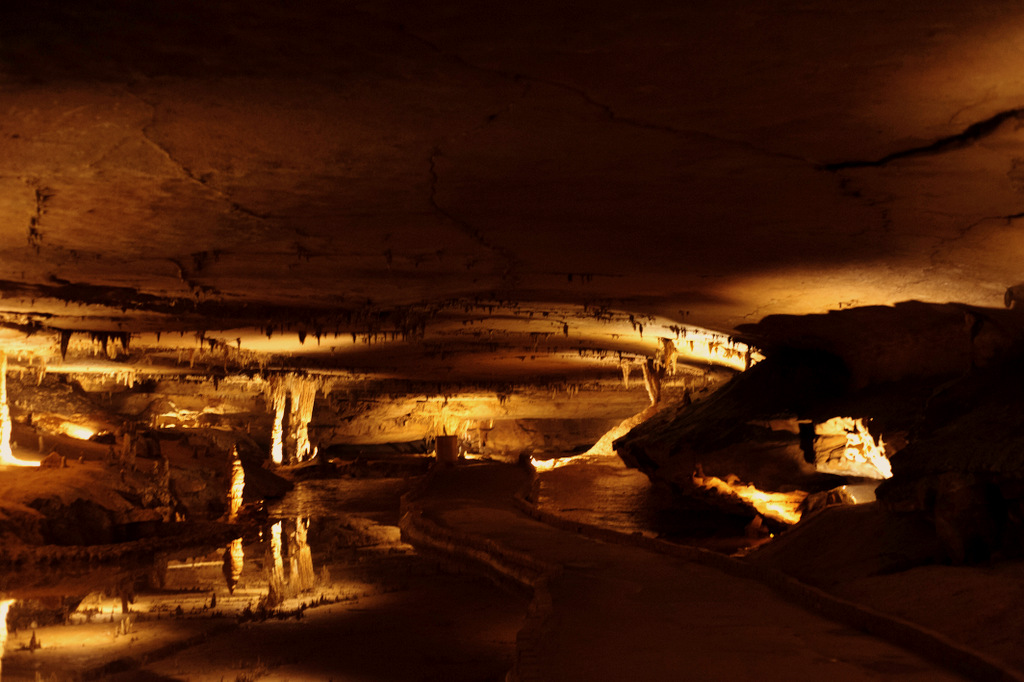
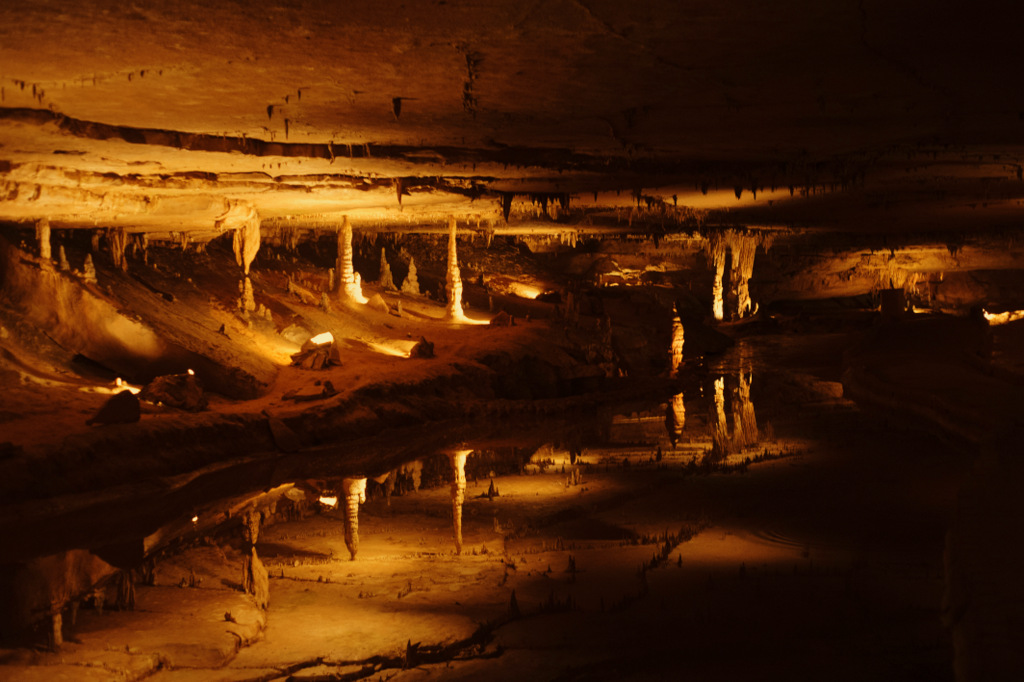
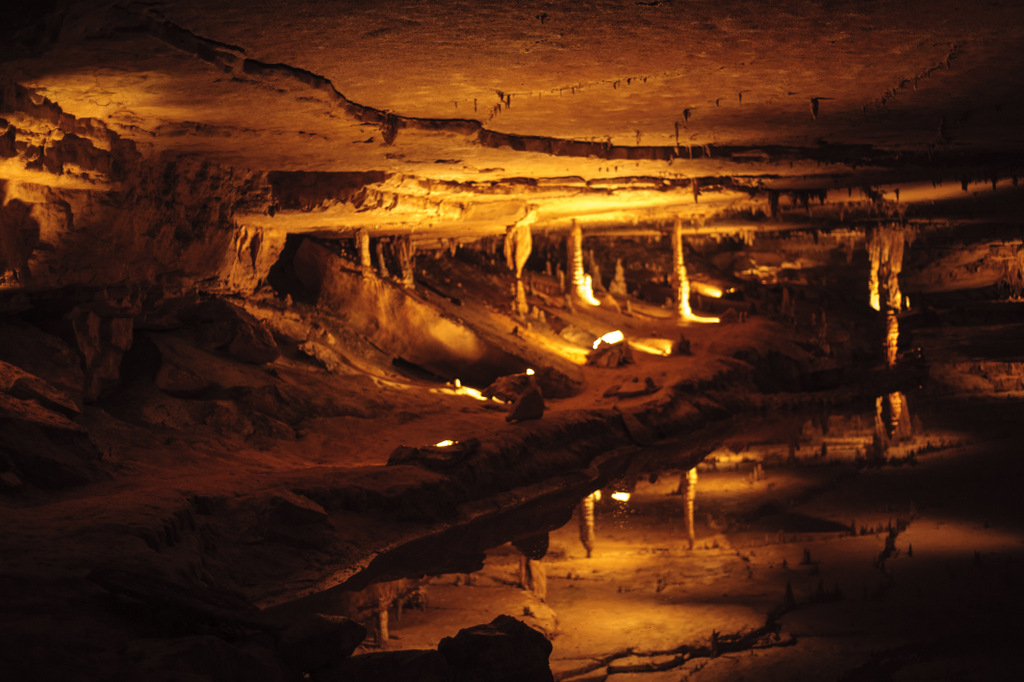
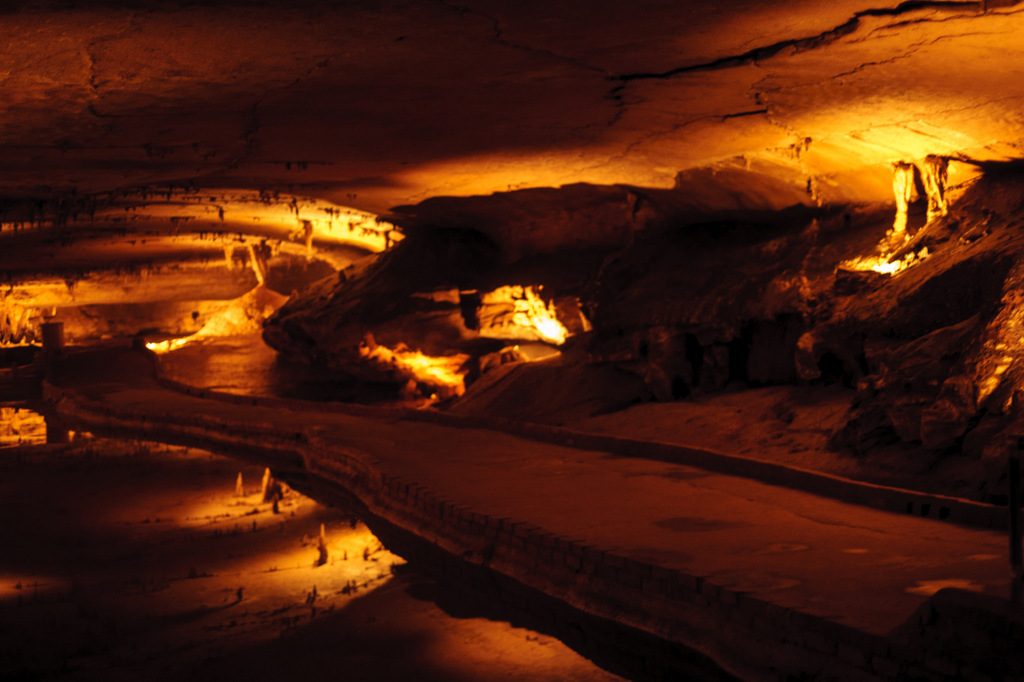
I took my camera, one lens, a Nikon 50mm 1.4 as my only lens as caves are not known for distances requiring a telephoto lens. The issue you have is different for every shot as there are so many different scenes. One cave had a lot of water in it and the other was pretty dry. The lighting in the cave was for dramatic effect not photography. The different scenes used different types of lighting so it was a constant WB issue. I decided early to use auto white balance but that was a mistake as some scenes had several spotlights on the walls and ceilings using different styles of bulbs for their effect. Needless to say but the camera sensors could not figure out what to do in many of the shots. It did its best and not bad most of the time however when you have mixed light sources you need to have control of the camera and I took over that function.
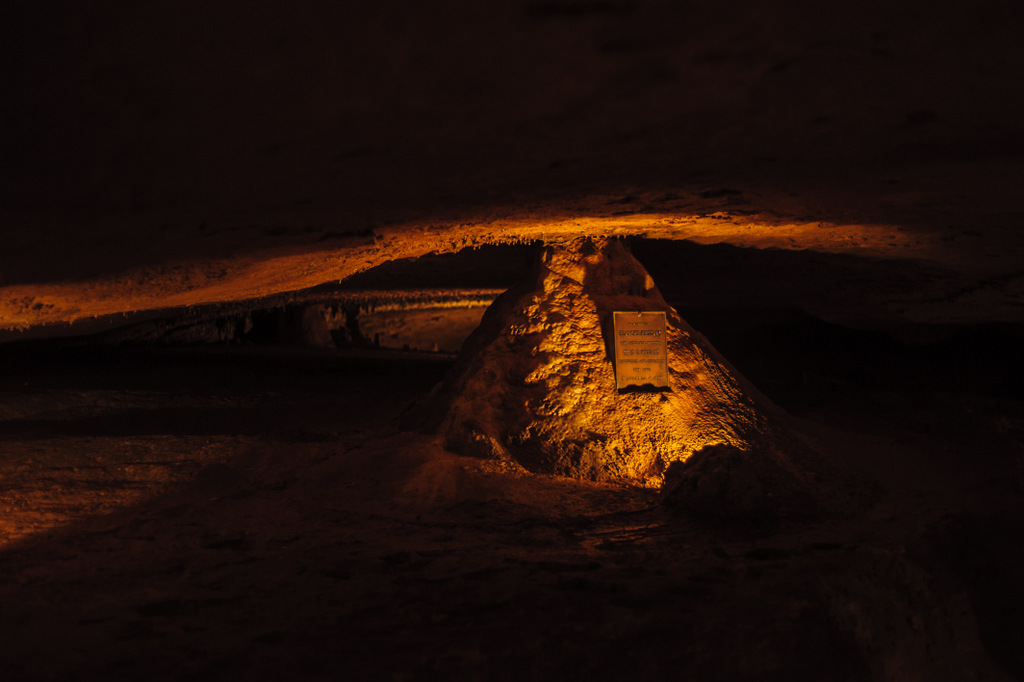
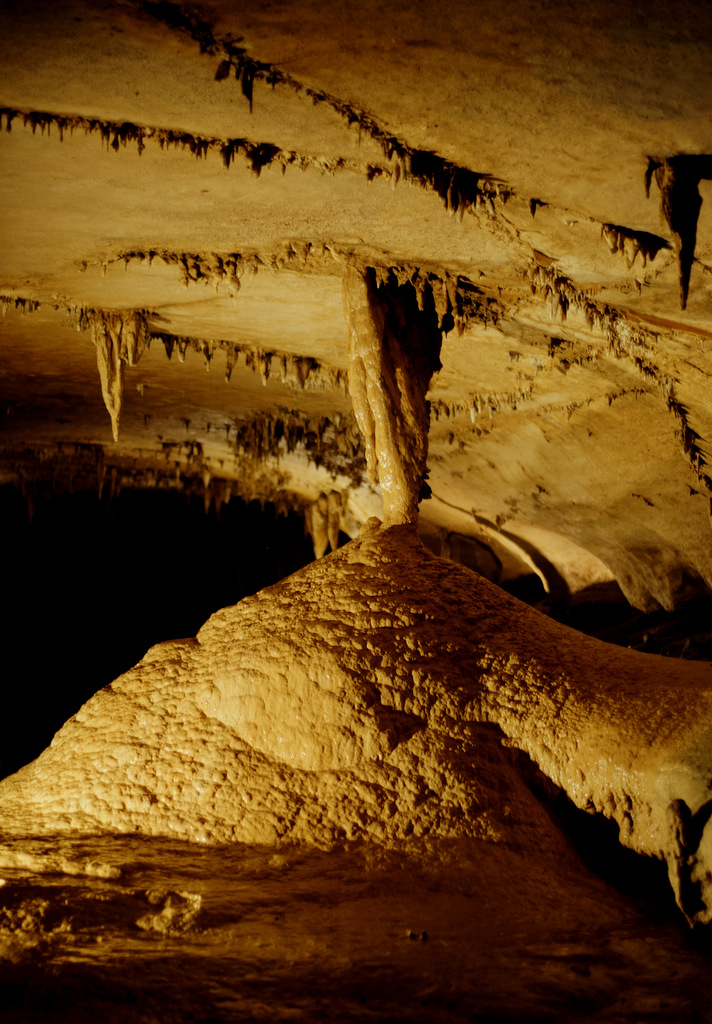
Now first suggestion is to shot RAW without question. If you really need a quick image shot raw + jpeg basic but you will need to be able to adjust the image files for most of the shots. I shot with as moderate an ISO as I could get by with on each scene. It meant changing things on the fly. Second thing is that you may not get a very long time to shoot your shots. Be prepared to shoot and scoot. I used a cable release to help with camera shake. Many shots were able to be shot using a modest shutter speed like 60 or even 90 at one time. The ISO ran from 200 to 2500 depending on the lighting that was present. I did not use a flash and do not recommend one unless you have time to set up and take more scheduled type of shots. The flashes can bounce around, come of wet spots differently that the dry ones and can make the images look really bad especially if using TTL settings. Your subjects in the caves can be as close as a 1-2 feet (less than a meter) or 60 feet away (about 18 meters).
I tried to use AE with a bracket set at 3 frames with 1 stop at each shot. It was ok but the issue is the camera shake from the shutter releases. If you stop the bracketing by releasing the shutter it will finish it when you start shooting again even if it is a new subject. I changed that after a few tries.
The clothing I wore was a long sleeve flannel type of shirt, cheap ones are good so they can be trashed if you have issues with the walk and get mud and water on them. I wore jeans again an old pair with a couple of holes in them. I did wear a good pair of waterproof hiking boots. Remember there will probably be water on the paths somewhere. It may only be a little but it can make the walkways slippery so boots are a must in my opinion. If you get cold easily a jacket and gloves or chemical hand warmers might be in order.
Most important, relax and enjoy your time and forget you a few hundred feet underground with the ceiling leaking water through all the cracks. What could possibly happen?
A story on www.davidgeorgephotography.net gives the exif information some images there. I am working on coordinating the sites and putting different images on the stories to help expand the availability of the information. A gallery is being built to do that with all types of images not just the cave shoot.